
 You are about to leave publix.com and enter the Instacart site that they operate and control. Publix’s delivery and curbside pickup item prices are higher than item prices in physical store locations. Prices are based on data collected in store and are subject to delays and errors. Fees, tips & taxes may apply. Subject to terms & availability. Publix Liquors orders cannot be combined with grocery delivery. Drink Responsibly. Be 21. For prescription delivery, log in to your pharmacy account by using the Publix Pharmacy app or visiting
How to make this Star Display Flashlight
It’s amazing what a little imagination can do! Check out the simple steps below to start making this perfect five-minute craft that will lead to hours of creative adventures.
Difficulty: Easy
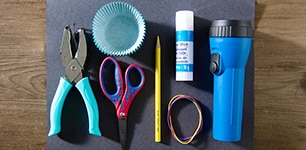
Materials
- 1 flashlight (any size) with batteries
- Black construction paper
- Cupcake liners
- Rubber bands
- Glue stick
- Scissors
- Star-shaped hole punch
Directions
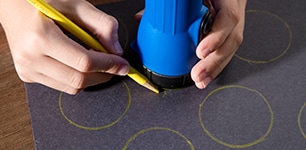
1. Measure the head of your flashlight and cut the construction paper into a circle that will fit on the flashlight’s surface.
2. Glue your construction paper circle onto the bottom of the cupcake liner.
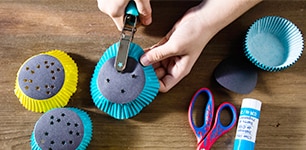
3. After it has dried, use your star-shaped hole punch to create a pattern through the paper.
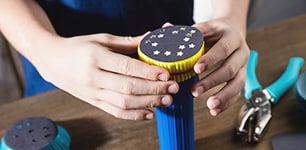
4. Place the newly designed cupcake liner over the head of the flashlight and secure it with your rubber band. Now you’re ready to turn it on and watch your child enjoy the magic!
Tip
- Go online to find patterns of the constellations. Punch your holes into the shape of the Big Dipper, Orion, or their favorite constellation so they can spend the day looking at the stars.
- Look for different creative hole punches to create any number of shapes that your child will love displaying.